How to clean my LabelWriter 5 Series Printer?
This article will guide you on how to clean your LabelWriter 5 series printer in case of a label jam. It will also cover the process of cleaning the printer sensors and provide basic maintenance tips. Please note that these steps are specifically for our LabelWriter 5 series printers.
Please note: If you are using our LabelWriter 450 series, please click HERE to access the appropriate guide.
Furthermore, if your LabelWriter experiences issues such as failure to feed labels, excessive/partial feeding, or subpar print quality, you can follow the steps below:
Label Compatibility
Please ensure that you are using compatible DYMO Authentic labels, as they are specifically designed to work seamlessly with our devices. These labels are optimized for label detection and have undergone thorough testing to deliver the best printing output.
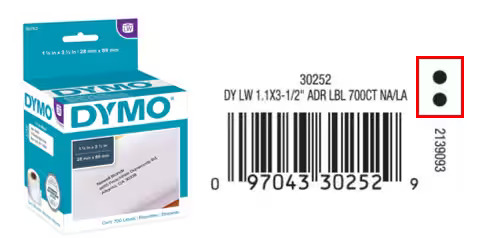
a) Please verify the packaging of your labels. It should display a green and white or blue and white design, and the barcode should feature two dots, as illustrated in the example below:
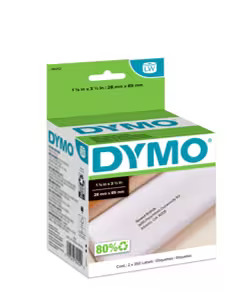
b) If you no longer have the packaging, you can check the core of your labels for further verification. Look for a blue DYMO logo pattern, as illustrated in the example below:
![]()
Preparing your LabelWriter for the cleaning procedure
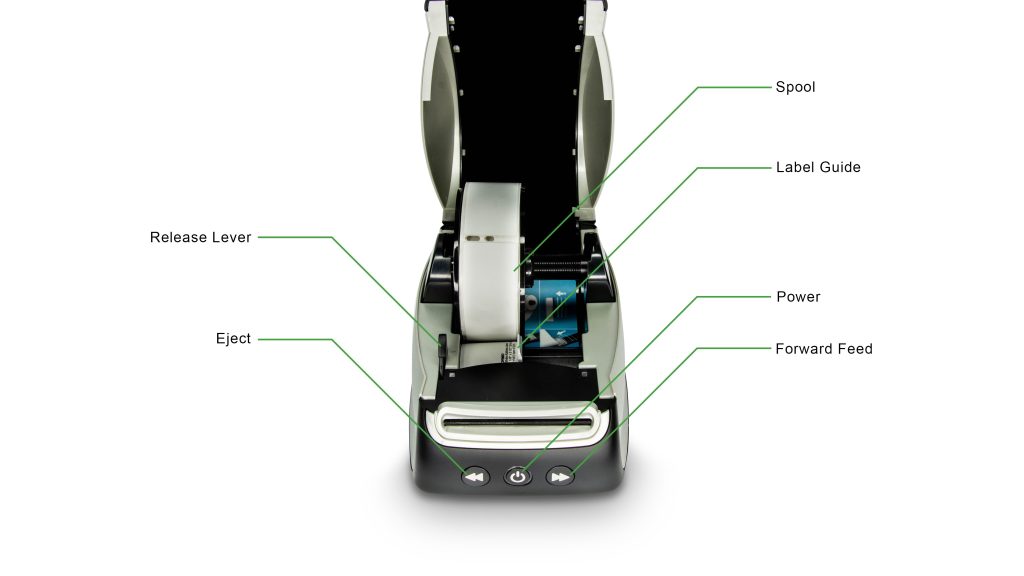
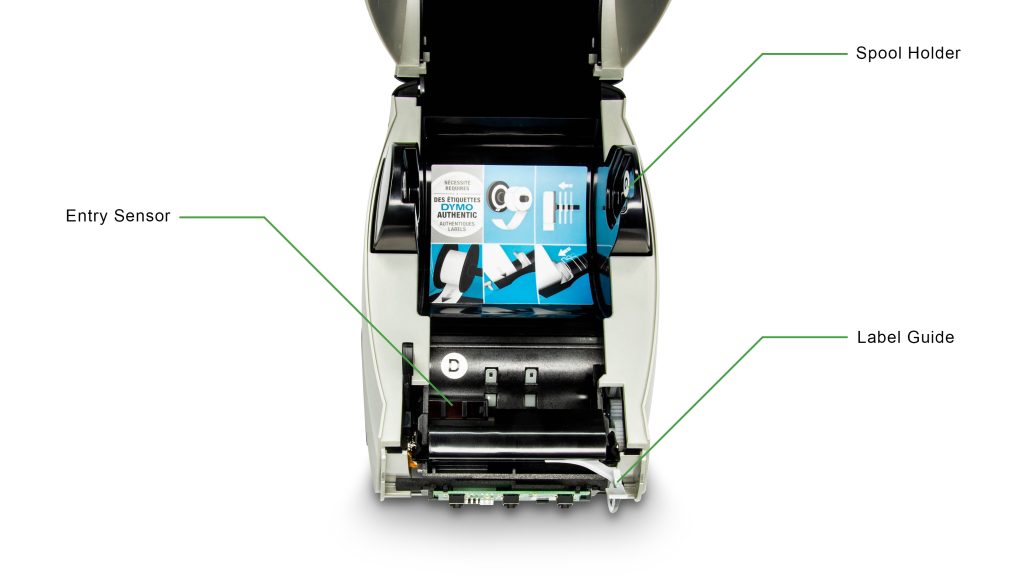
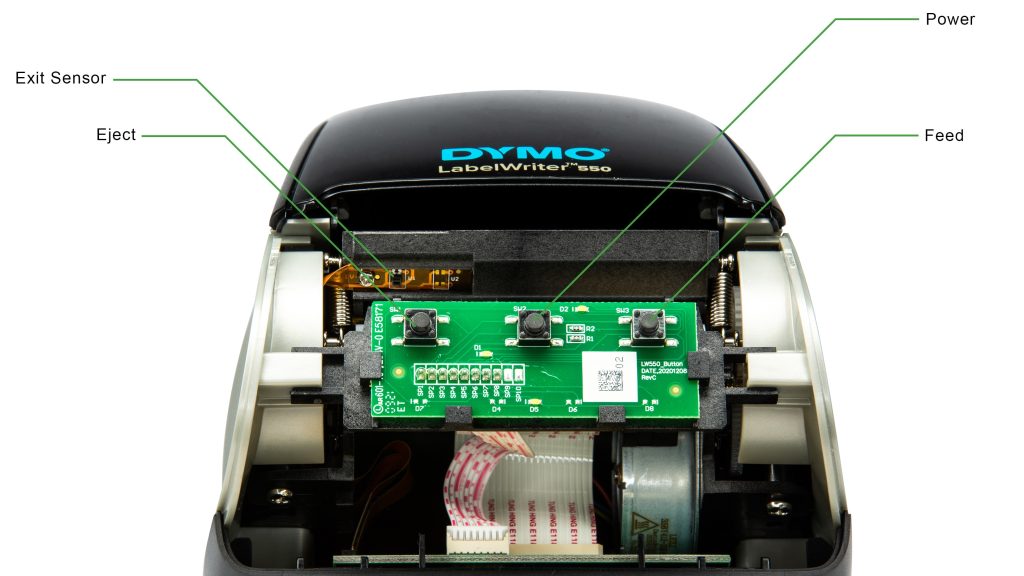
Before proceeding, take a moment to familiarize yourself with the various components of your device. If you encounter any uncertainty regarding a specific component mentioned in the guide, feel free to refer back to this diagram.
- Begin by disconnecting all cables from the back of the printer.
- Proceed to open the label compartment.
- Use the Release Lever located on the left-hand side to carefully extract labels from the feeding area.
- Remove the spool from the printer.
- Detach the front cover. Firmly grasp the top portion and pull it towards you. For a visual demonstration, please refer to the instructional video below.
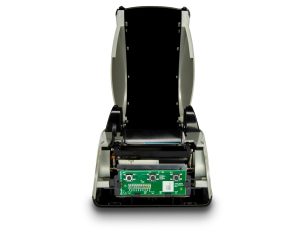
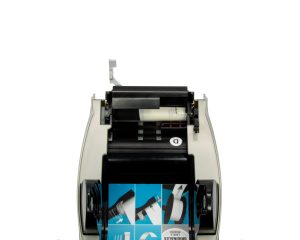
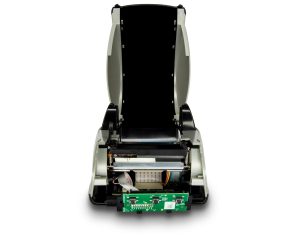
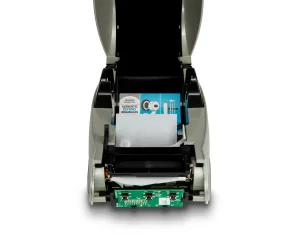
Your device should now look like the example below:
Cleaning your LabelWriter
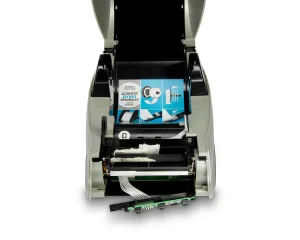
1. If you have a label jam, you should now be able to see it wrapped around the roller. To gain better access, you can lift the gray label guide up. This will provide you with access to the printer roller and the entry sensor.
If you require additional access, you can pull the printer’s sides in separate directions. This will allow you to remove the board at the front of your device.
Please note: The cables attached to the board cannot be disconnected. Extreme care is required when handling this component. This step should only be performed if you are unable to remove the jam from the above angle.
2. Use tweezers to remove any label pieces you may see in the print area. If your labels are wrapped around the roller, please try to split the label along the top using scissors or a scalpel. If the labels are not moving, pull the release lever to relieve tension on the label and simultaneously extract it from the printer.
Please exercise extreme caution when handling sharp objects to avoid injury or damaging the print roller.
3. Once all stuck labels have been removed, we advise removing any possible glue residue. Use a cleaning card or moisten both sides of a business card with isopropyl alcohol.
Please note: The business card should be rigid enough to be properly transported by the roller. Avoid excessive soaking.
Using a cleaning card will eliminate any glue residue that may have adhered to the printer roller. It will also clean the bottom of your entry sensor, which is depicted in the diagram below:
4. Insert the cleaning card under the Entry Sensor and feed it through the device. You may reconnect the power and turn your printer on for this step. Powering on the device will enable you to use the feed button located at the front of the printer. Pressing the feed button will cause your LabelWriter to advance the cleaning card through to the other side, effectively cleaning all sides of the roller. Repeat this process 3-5 times.
5. To clean the Exit Sensor, locate it above the label path exit. Use a dry cotton bud to carefully and thoroughly clean the black chip. Ensure there are no signs of glue or dust on the sensor’s surface.
6. Once you have finished cleaning both sensors, you can proceed with reassembling your device. Align the two hooks on the front cover with the slots on the bottom of your printer. Apply gentle pressure to push the cover until it clicks into place. Inspect the sides and bottom of the printer for any gaps between the printer and the front cover. If gaps are present, please remove the cover and attempt reattachment again.
Please note: If you require a visual reference on how to reattach the front cover, kindly refer to the video provided at the beginning of this article.
Inserting your labels
1. Reconnect the power cable to the back of your printer and turn on your device.
2. Insert your DYMO Authentic labels into the printer. Ensure that the labels are facing down and aligned completely to the left-hand side. For a visual reference, please refer to our video tutorial below:
Printing a label
1. Reconnect the USB cable to the back of your printer. Please make sure the other end is connected directly to your computer.
2. Open our DYMO Software and print your labels.
![]()