How to clean my Rhino label maker?
Cleaning your Rhino label maker is an important maintenance task to ensure optimal performance and prevent label jams. If you’re experiencing label jams, partial feeding, or subpar print quality, cleaning the device can often resolve these issues.
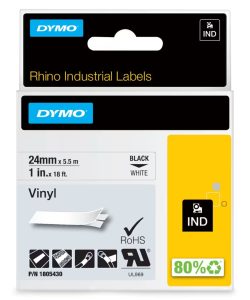
Tape Compatibility
Please ensure that you are using DYMO Authentic tapes, as they are specifically designed to work seamlessly with our devices. Our tapes have undergone thorough testing to deliver the best printing output. Our Rhino devices are compatible with the DYMO D1 and IND tapes.
Preparing your Rhino for the cleaning procedure
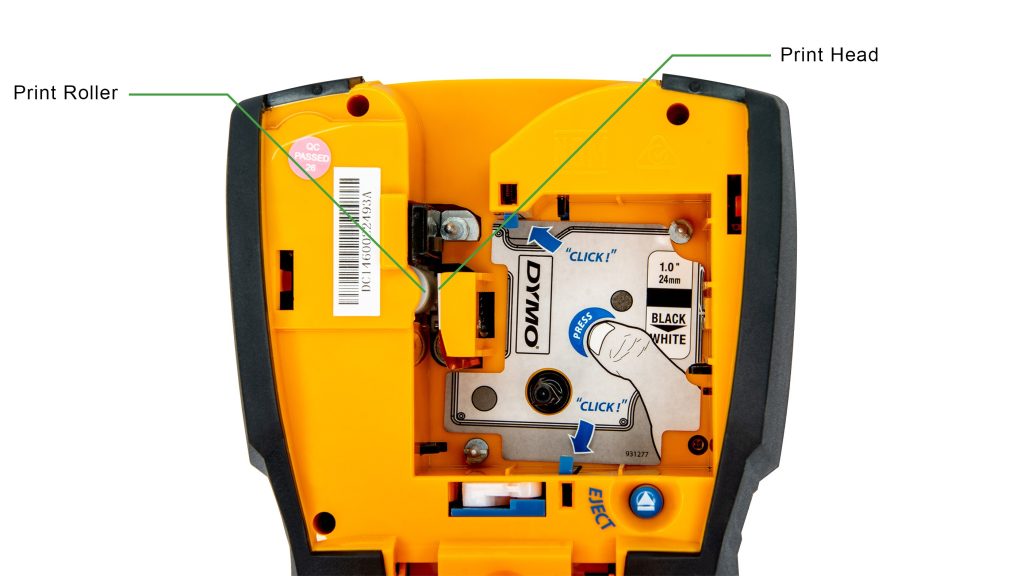
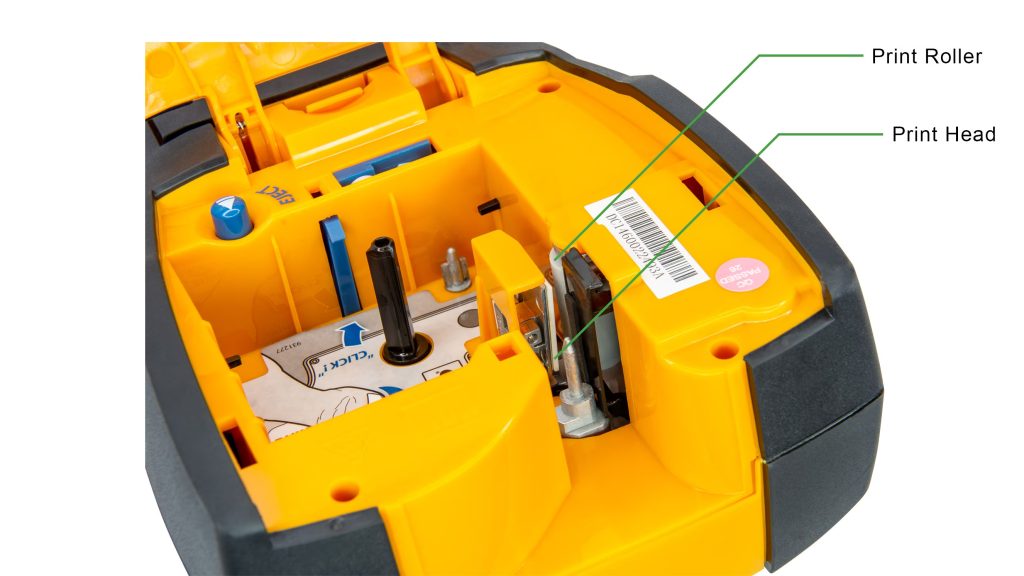
Before you proceed, take a moment to familiarize yourself with the various components of your device. If you encounter any uncertainty regarding a specific component mentioned in the guide, feel free to refer back to these diagrams. Although your printer model may vary, the tape compartment layout and steps remain the same.
To clean your device, please follow the steps explained below
1. Turn off the label maker.
2. Open the cartridge door to access the tape compartment.
3. Remove the tape cassette.
4. Dampen a cotton swab with a pure alcohol-based solution, such as isopropyl or rubbing alcohol.
5. Carefully but thoroughly wipe the print head with the swab. If one side of the cotton swab becomes soiled, use a new swab.
6. Inspect the rubber roller inside the tape compartment and ensure that there is no tape wrapped around it. If you find any tape wrapped around the roller, please use tweezers to carefully remove the tape. If the tape is tightly wrapped, you may need to use a scalpel or another sharp tool to split the tape and remove it effectively.
Please exercise extreme caution when handling sharp objects to avoid injury or damaging the print roller.
7. Use a fresh cotton swab to clean the print roller. The roller should have a rubber-like texture and appear light in color. It should have a consistent and uniform color throughout.
Cleaning the Cutter Blade
Please exercise caution when handling the cutter blade during the cleaning process, as it is exceptionally sharp and can cause injury if touched directly.
Rhino 4200 and 5200:
1. Remove the label cassette.
2. Press and hold the cutter button to expose the cutter blade. Keep your fingers clear of the blade exit.
3. Use a new cotton swab to clean the blades surface. Please look for any glue or tape remains.
4. Before turning on the device and attempting to print, let the solution dry for a duration of 5 minutes.
Rhino 6000+:
2. Press and hold the CUT key while pressing down the ON/OFF button for 2
seconds.
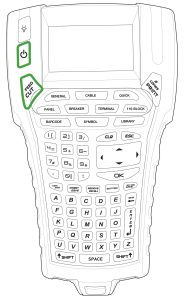
3. Release the ON/OFF button and the CUT key. Your display will now show “Move cutter blade”.
4. While holding down either of the SHIFT keys, press and release the CUT key repeatedly. Each press of the CUT key will move the blade position by a small increment. Keep your fingers clear of the blade exit.
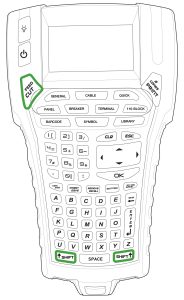
5. With the label cartridge cover open, move the blade little by little until it reaches the top position.
6. Press down the plastic cutter framework, use a cotton swab and alcohol to clean glue or tape remains on the blade.
Make sure the alcohol only touches the cutter blade. Excess alcohol that touches the rubber frame can damage the frame.
7. When the blade is clean, let the solution dry for a duration of 5 minutes.
8. Press the CUT key once to return the blade to the starting position.
Regularly cleaning your Rhino label maker, even when there are no specific issues, can help maintain its performance and prolong its lifespan. Thank you for taking the time to clean and maintain your label maker.
![]()