How to use DYMO Connect for Desktop?
This article will provide you a reduced overview of the different features in DYMO Connect and how to use them. You can access the complete online manual for your software from within DYMO Connect. Go to the top ribbon >> Help >> Help contents.
Or from our website DYMO.com. Direct links to the extensive manual for the software can be found here and here.
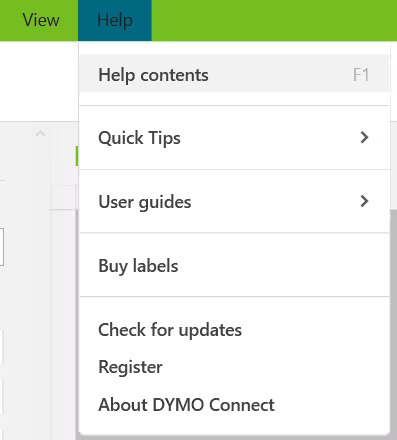
Table of contents
- Finding the software version
- Setting up a project in DYMO Connect
- Adding elements (Text, Address, Images, Barcodes)
- DYMO Connect Address Book
- Importing Data
- Importing PDF files
- Trivia
Finding the software version
-
- On Mac:
-
-
- Open the DYMO software.
- Navigate in the top left corner next to the Apple logo.
- Click the software name and select About…
- The version is displayed in a pop-up screen.
-
-
- On Windows:
-
-
- Open the DYMO software.
- Navigate in the top ribbon to Help.
- Select About….
- The version is displayed in a pop-up screen.
-
Setting up a project in DYMO Connect
DYMO Connect works with projects that rely entirely on the selected label or tape format. The format used cannot be changed within the open project. To change between different label and tape sizes (and therefore printers), you must select a new label each time.
Printer and label selection
-
- 1. Click on the ‘New’ button in the top left corner.
2. A new window opens where you can adjust the settings.
3. On the left, choose which installed printer you want to use.
4. On the right, choose which label or tape to use, use the name, size or product code of your label or tape.
5. Below there is a list of sample templates, please select the one that is the closest to what you need.
6. Once you have decided, click on the ‘Open‘ button in the bottom right corner, next to ‘Cancel‘.
7. You are now ready to edit the label and print it. For more information about switching printer side, click here . - Please note: When you are using our latest DYMO LabelWriter 550 series, the label size is automatically selected for you.
- 1. Click on the ‘New’ button in the top left corner.
Adding elements (Text, Address, Images, Barcodes)
Editing text
If the label on the screen is blank, please click on the ‘Add‘ button above the workspace to add a text object that you would like to use, i.e. Text or Address. Extend the blue outline to the desired size. Then double-click on the sample text/address inside the blue outline, remove the text/address and start typing.
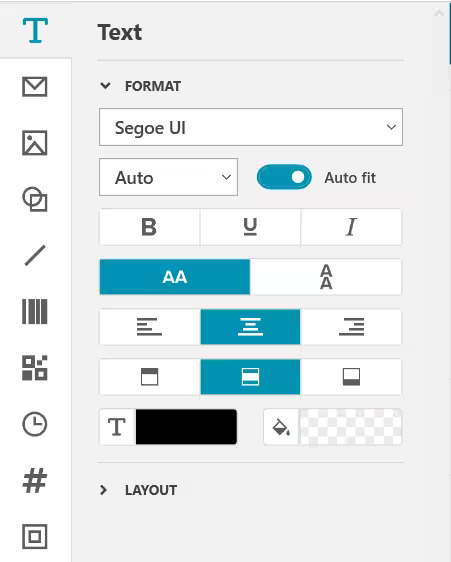
When a text box is selected with a single click, please use the panel on the left side to change properties such as font and its size, underline, alignment, etc.
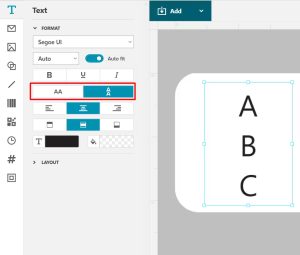
Vertical text
Add text to your label if one is not on there already using the ‘Add’ button above your workspace. Select the text box on your label and options will appear on the left-hand side. Switch between horizontal and vertical text using the AA buttons.
Supported barcodes and graphics
| Barcodes | Graphic formats |
|---|---|
|
|
Inserting a graphic
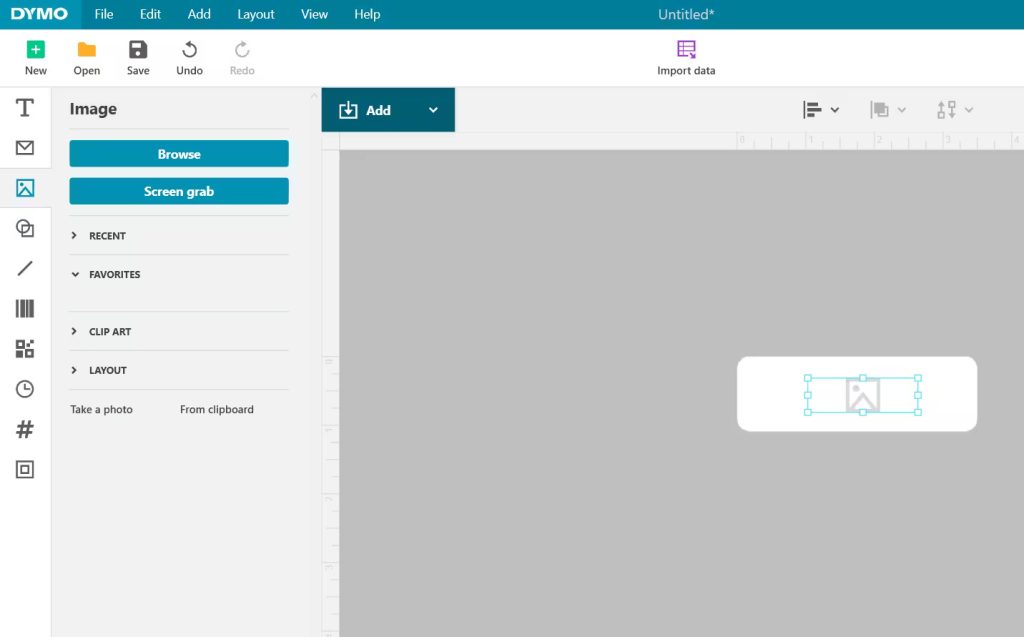
DYMO Connect Software comes with many pre-defined, customizable label templates. You can either open a label template that contains a graphic object or click on the ‘Add‘ button above the workspace, then select ‘Image’.
-
- To change the image that appears within the graphic object:
-
- Click on the image that appears on the label template. A list of options will appear on the left-hand side.
- To import an image, please select ‘Browse’, choose the graphic/image you’d like to appear on the label, and click OK.
- Here you will also see options such as Screengrab, Take a photo, clip art, etc.
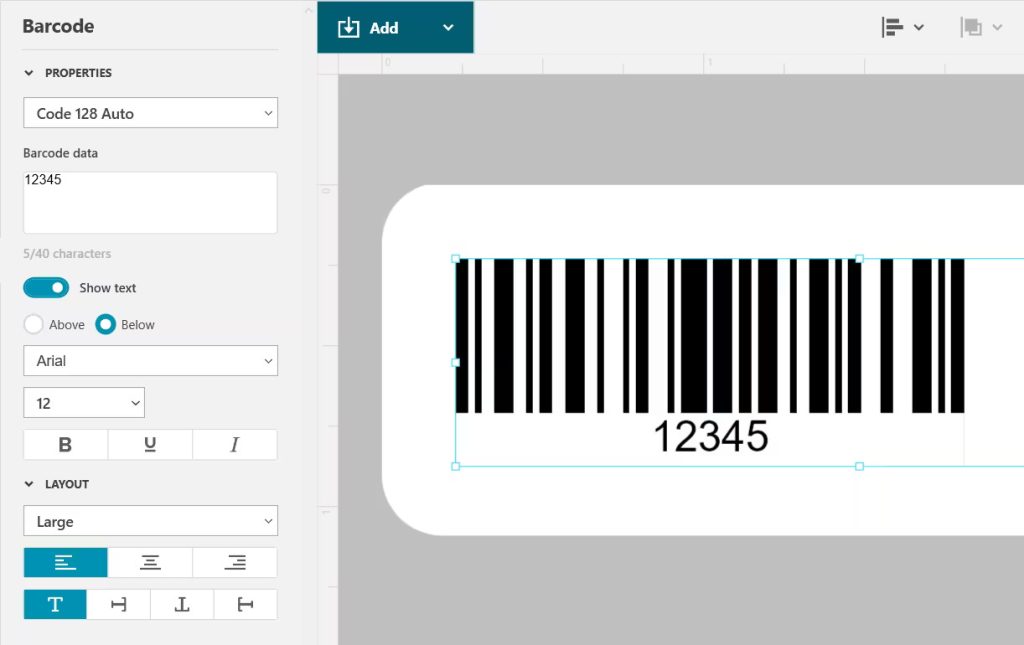
Inserting a barcode
Please note: This documentation assumes that you already understand the differences between barcode types and have a plan in place to incorporate barcodes into your organization. If you need to learn more about barcodes, many excellent how-to books are available online.
-
- Select Barcode from the Add list.
- A new barcode object is added to your label. By default, the barcode type is Code 128 Auto.
- Select the barcode type and enter the data in the properties panel.
- Optionally, choose to show the barcode text above or below the barcode.
- Change the size of the barcode in the Layout properties.
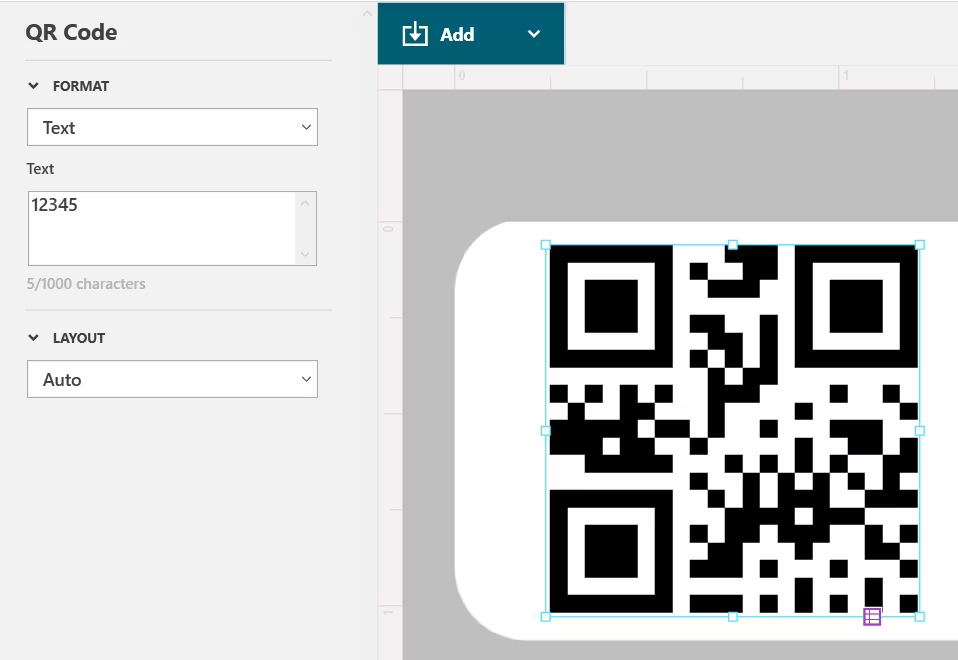
Inserting a QR code
You can add a QR code to your label using the QR Code object. Text, phone number, email address, SMS text message, vCard, or URL data can be used in the QR Code. Please note: When assigning imported data to a QR code, DYMO Connect only supports QR codes with a URL format.
Please note: This documentation assumes that you already understand the differences between QR Code types and have a plan in place to incorporate QR Codes into your organization. If you need to learn more about QR codes, many excellent How-To books are available online.
-
- Select QR Code from the Add list.
- A new QR code object is added to your label. By default, the object contains a circle that fills the size of the object.
- Select the QR code type and enter the data in the properties panel.
- Change the size of the QR code in the Layout properties The default QR size is set to AUTO FIT. If you would like to change the size, please resize the box on your label, or choose a specific size from the LAYOUT tab.
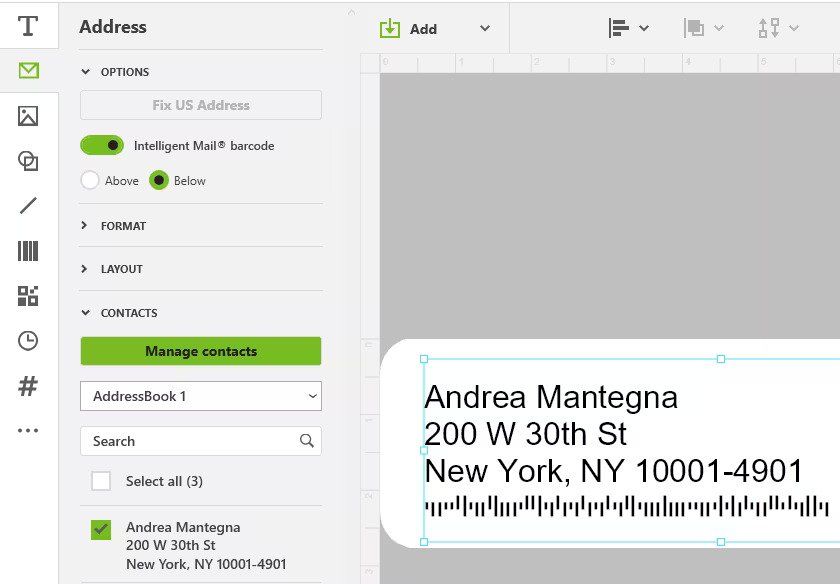
Intelligent mail barcode (US only)
Starting with DYMO Connect 1.4.4 you now have the ability to create Intelligent Mail barcodes.
The Intelligent Mail barcode is USPS barcode technology used to sort and track letters and flats. Intelligent Mail barcode technology combines the capabilities of the POSTNET barcode and the PLANET Code barcode into one unique barcode. DYMO Connect allows you to add the Intelligent Mail barcodes in address fields or as a separate barcode IMail.
DYMO Connect Address Book
Creating a contact list
DYMO Connect now allows you to create a contact list which you can use to efficiently print multiple addresses with the same label format.
-
-
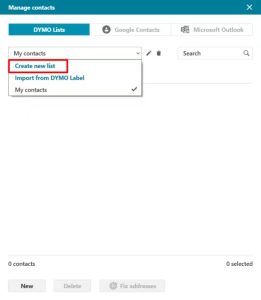
To start creating your contacts:
1. Go to File > Manage Contacts.
2. A contact list will already be created by default by the name of ‘My contacts‘.
3. To create a new contact list, please select the ‘Create new list‘ option from the drop-down menu.
4. You will now have the option to name your list and start adding new contacts.
-
-
-
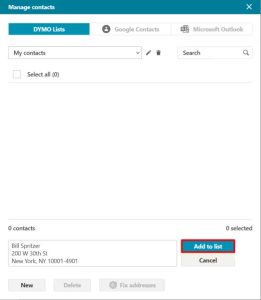
Adding Contacts
1. Select the ‘New‘ option at the bottom of the window.
2. You will now have an area where you can type in the contact information in your desired format.
3. Once done, please select the ‘Add to list‘ option.
4. You have now successfully added a new contact to your list.
5. Please repeat these steps to build up your contact list with more contacts.
-
-
-
Using Your Contacts
- 1. Open a blank label or select a label template from the ‘Address‘ category.
2. If you are using a blank label, please click on ‘Add‘ and select ‘Address‘. This will place a new text box on your label which is designed to work with your contacts.
3. Once you select the text box on your label, address-specific options will appear on the left-hand side.
4. Please use the drop-down menu to select your contact list.
5. Now you should see the list of contacts you have added in the previous steps.
6. Please click on the boxes next to the contacts you would like to print. If you would like to print all of them, please use the ‘Select all‘ checkbox.
-

You should now have a new contact list with your first contacts added. Keep building up your contact list so that you never have to type out an address twice! Additionally, you may now link DYMO Connect to your Outlook or Google address book.
Transfer DYMO Label Address Book to DYMO Connect
To transfer your old DYMO Label address book, please open your contact management in DYMO Connect. This can be found by clicking File > Manage Contacts. From the drop-down list, please select ‘Import from DYMO Label’. Your old .ABX file can now be selected. The default save path in DYMO Label is: Documents\DYMO Label\Address Books
![]()
Address Fixer (US only)
Using DYMO Address Fixer, you can check the US addresses in your contact list against a database of US addresses and automatically add the complete 9-digit ZIP Code. The mail sorting procedure is more mechanized and although we cannot guarantee that your mail will be delivered faster, it is very possible. Your mail will look cleaner and more professional with a more uniform look.
You can use Address Fixer to fix addresses in Outlook or Google contacts from within DYMO Connect prior to printing, but the changes cannot be saved back to Google or Outlook. Any changes made in DYMO Connect are temporary. Make any edits to these contacts before using them in DYMO Connect.
-
- To fix a single address on a label
1. Select the address object on a label that you want to fix.
2. From the Address Object properties pane, click Fix US address. - To correct addresses in a contact list
1. From the Address Object properties pane or the File menu, select Manage contacts.
2. Select one or more addresses that you want to correct from a contact list.
3. Click Fix addresses.
4. A badge icon appears next to addresses that have been fixed.
- To fix a single address on a label
Importing data
To print a group of labels from an address list or other data file, you can import the data and then assign each data field to objects on the label. You can assign data to text, address, barcode, or URL-type QR code objects. Data can be imported from Microsoft Office or Google contacts. You can also import data from a spreadsheet or database by exporting the data to a .csv file.
Importing Contacts
You can import all or a selection of contacts from Microsoft Outlook or Google contacts.
-
-
To select contacts:
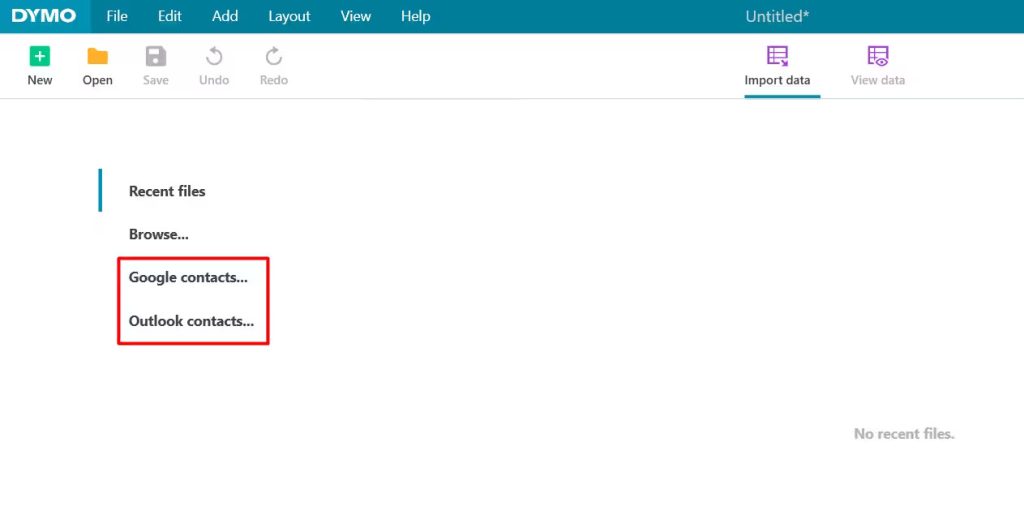
1. Click Import Data at the top of the page.
2. Select Google contacts or Outlook contacts.
3. Log in to your account when prompted.
4. The list of your contacts is displayed with all the contacts automatically selected.
5. Select the contacts you wish to import and click Import. The next step is to assign the contact data to your label design. See Assigning Data Fields.
-
Importing Spreadsheet or Database Data
You can import data from a Microsoft Excel spreadsheet or a Microsoft Access database table. You can also import data that has been previously saved as a .csv (comma-separated value) file or a Universal Data Link (UDL) file. Refer to your spreadsheet or database program documentation for instructions on how to export the data. Refer to the Microsoft documentation on Universal Data Link (*.UDL) for more information.
-
- Click Import Data.
- Click Browse.
- Select the data file on your device and click Open.
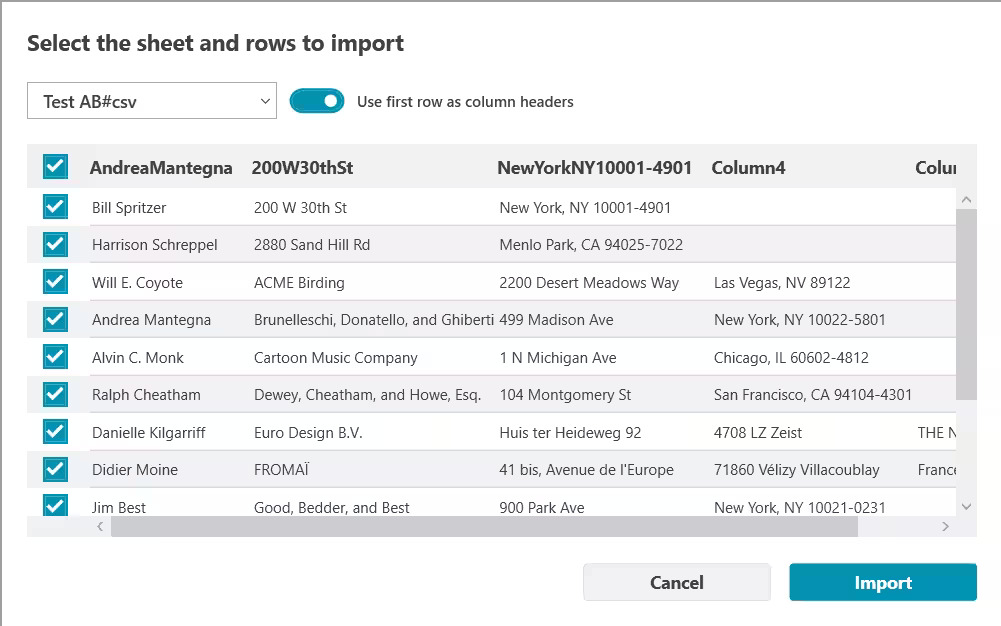
- The data is displayed with all the data fields automatically selected.
- Select the data fields you wish to import and click Import.
The next step is to assign the data fields to your label design. See Assigning Data Fields.
Assigning Data Fields
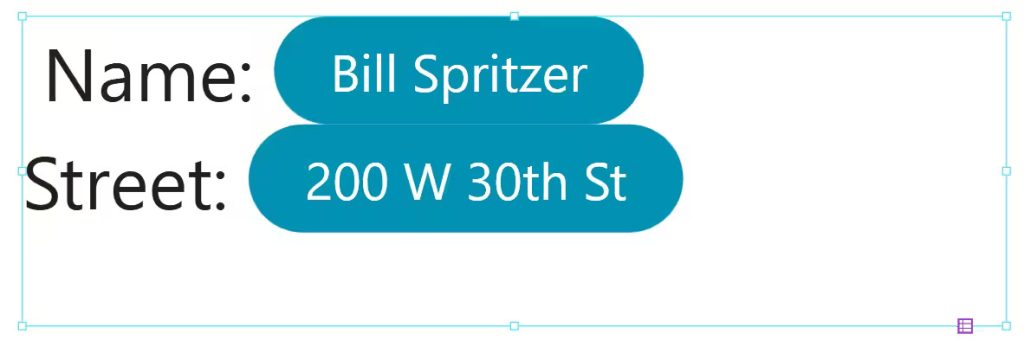
You assign fields from your imported data to objects on the label by selecting the fields you want to use from a list of all the fields in your data source. You can position the data before or after other text already on the label. You can also assign more than one field to the same object and add other text, spaces, and punctuation.
For example, select the first name field to place it on a text object, enter a space, and then select the last name field which places it after the space. Any text you place on the label in addition to the fields will appear on every label. To view the data you have selected, select View data. You can’t change any of the data in the data table. Changes to the data need to be made in the source file and imported again.
- To assign data fields:
-
- Select a text, address, barcode, or URL QR code object on the label.
- A purple icon appears near the object.
- Click on it to show the list of fields, if not already displayed.
- Select the first field to appear in the cursor position.
- Optionally, enter any text you wish to appear on every label.
- Select additional fields to appear in the same object.
- Drag a field to move its position within an object.
Once you are done formatting your label, see the number of labels ready to print and toggle between them using the arrow keys below the print button.
Importing PDF files
Starting with DYMO Connect 1.4.4 you now have the ability to import PDF documents, allowing you to neatly design your label.
-
- Please make sure that you have the latest DYMO Connect software installed.
- If you have not already, please make sure your .pdf file is located on your computer.
- Open DYMO Connect.
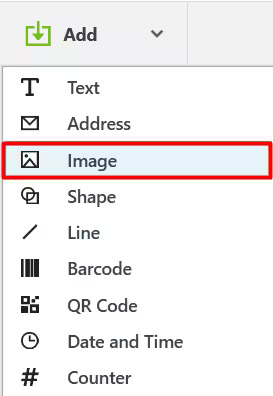
- Add an Image object to your label using the ADD button.
-
- 5. Select the image object on the label.
6. On the left hand side, select Browse.
7. Navigate to your .pdf document and select it.
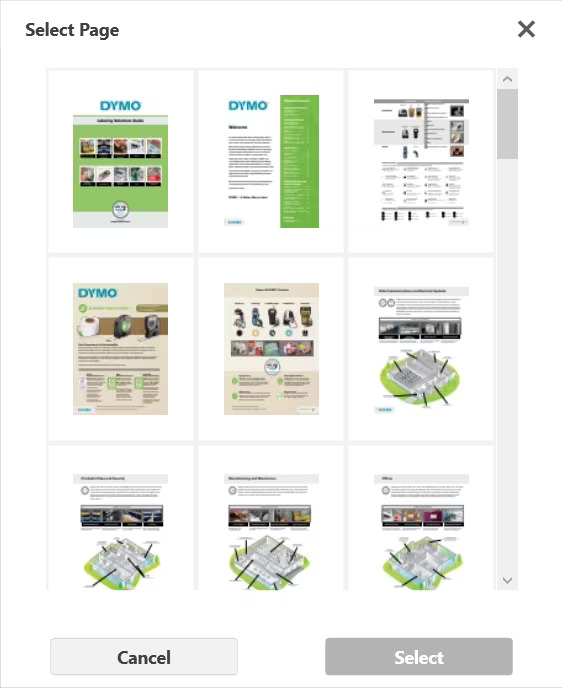
8. Select the page you would like to import.
- 5. Select the image object on the label.
-
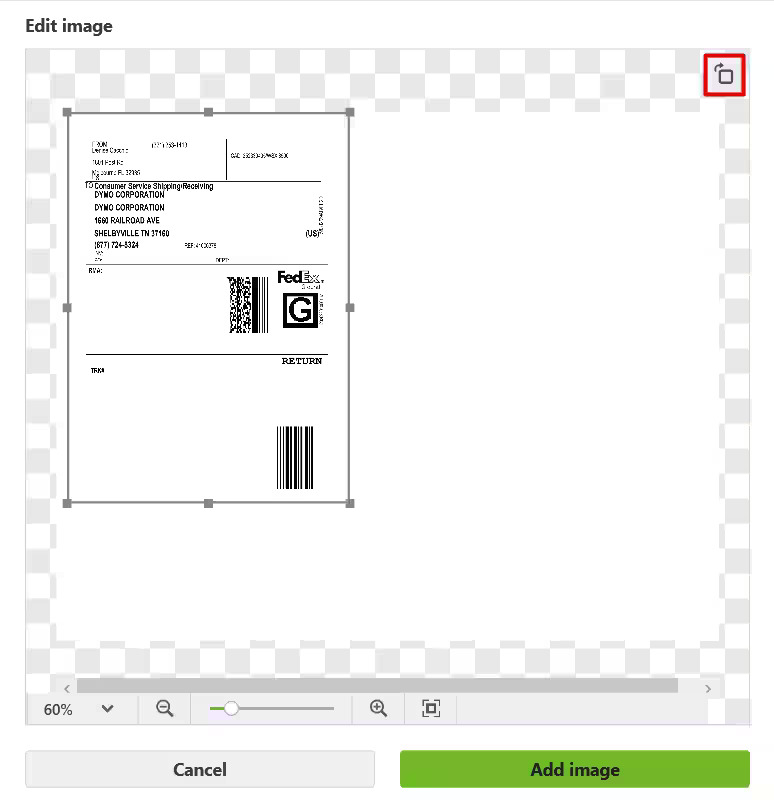
- 9. Rotate the image using the button in the top right corner.
10. Crop the image so that only the area you wish to print is included.
- 9. Rotate the image using the button in the top right corner.
-
- 11. Select Add image.
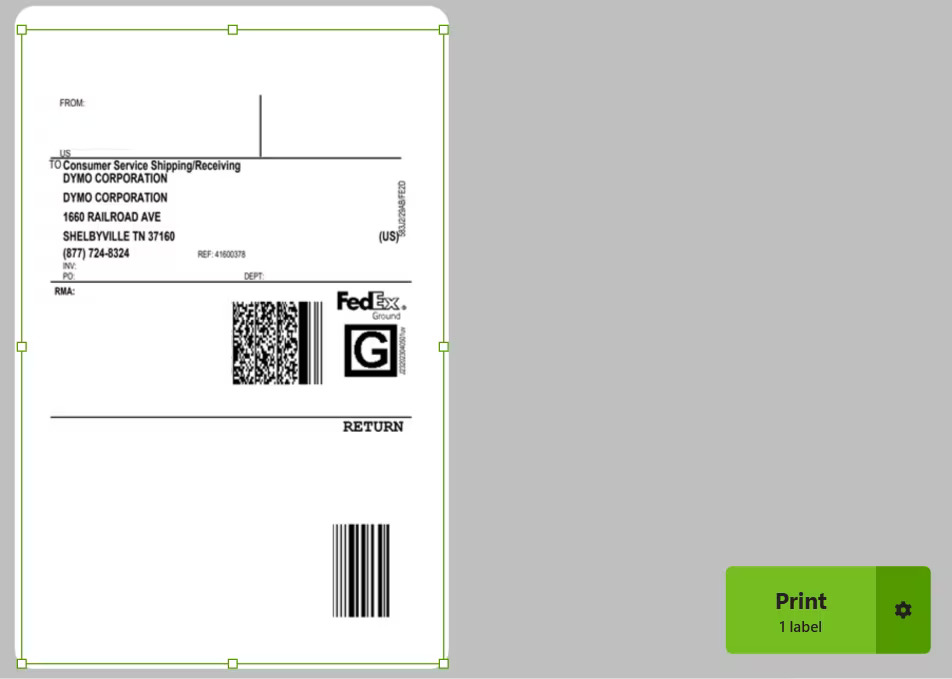
12. Scale the image to fit your label and print.
- 11. Select Add image.
Trivia
- Where does DYMO Connect save label templates?
- DYMO Connect provides you with the freedom of selecting your own save destination for each label you create. Once you choose to save your label, you will be prompted to choose a location on your computer.
- Where does DYMO Connect save the address book(s)?
- The address books are saved locally in a file ‘addressbook.db’. This save location is predetermined to the Documents file on the local drive and cannot be changed. You can find the file under: Documents\DYMO Connect\Address Books
- What type of fonts does DYMO Connect support (Windows)?
- DYMO Connect for Windows utilizes Microsoft Windows Presentation Foundation (WPF) and supports all True Type fonts that are supported by WPF.
- Can Address Fixer convert addresses to upper case, lower case, or mixed case characters?
- Our DYMO Connect address fixer connects directly to the USPS database and imports the original address format and it cannot be personalized.
- Can I link the Counter Object to a Barcode object?
- No, all the fields / objects work separately from one another and cannot be linked.
- Can I select a date in the past or future with the Date and Time object?
- No, the Date and Time object will always display todays date.
- Does DYMO Connect meet the requirements for 508 compliance?
- No, the software does not meet the requirements for 508 compliance.
- Can I print foreign language characters with DYMO Connect?
- Yes, DYMO Connect supports Unicode which allows you to print foreign language characters.
Please note, DYMO Connect does not support languages with a right-to-left reading direction, e.g. Arabic or Hebrew.
- Yes, DYMO Connect supports Unicode which allows you to print foreign language characters.
![]()