How to solve the ‘low battery’ error on my LabelManager PnP?
This article will guide you on how to troubleshoot your LabelManager PnP.
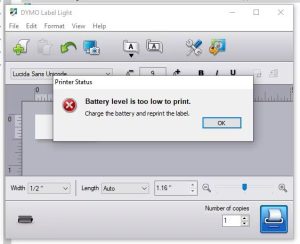
The error message ‘low battery’ may occur if you try to print but the battery is not properly charged. This may be caused by the battery itself, the USB-cable, the USB-port or the computer settings. The following steps can be tried.
Power cycle your printer and clean the battery.
- Disconnect the USB cable from the printer and the computer.
- Remove the battery from your device.
- Clean the silver connectors of the battery with a dry cotton swab.
- Press the power button 20 times to discharge the printer.
- Reinsert the battery into the device.
- Connect the printer to the computer with the USB cable.
Check the status of the light.
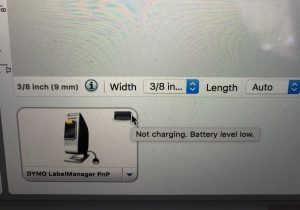
- Permanently lit – battery is not charging. What does the battery status show in the software?
- Flashing three times and pausing – battery is charging, let the printer charge for at least three hours.
- Fast blinking – battery is not recognized.
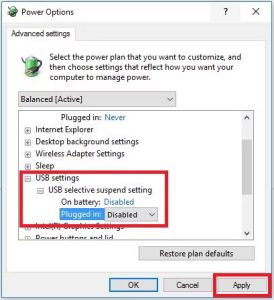
Check the USB-charging settings. (Windows only)
If using Windows, please go to Control Panel >> Power Options >> Change Programming Settings >> Change Advanced Power Settings >> USB Settings >> Disabled.
If you do not notice an immediate improvement, try a different USB port and a different cable if you have one.
![]()