How do I perform a self-test on my LabelWriter
To perform a self-test on the LabelWriter, please follow the steps below.
Power cycle your device:
- Disconnect the printer from the USB cable and the power source.
- Remove the label roll from the unit. To do so, use the label release lever on the left side by pulling it towards you.
- Press the button 10 times to discharge the printer.
- Connect the printer to power only and reinsert the label roll. Ensure that the labels are properly fed.
- The light on your power (550 series) or feed (450 and lower) should now be solid and not flashing.
Perform the self-test.
With LabelWriter 450 and earlier models:
- Hold down the form feed button on the front until the printer begins to print a test pattern.
- Once the self-test starts, release the form feed button.
- To stop the self-test, press and release the form feed button.
With LabelWriter Wireless:
- On the side of the printer, hold down the form feed button with arrows pointing forward until the printer begins to print a test pattern.
- Once the self-test starts, release the form feed button.
- To stop the self-test, press and release the power button.
With LabelWriter 5 series models:
- Hold down the power button and the form feed button to its right until the printer begins to print a test pattern.
- Once the self-test starts, release both buttons.
- To stop the self-test, press and release the power button.
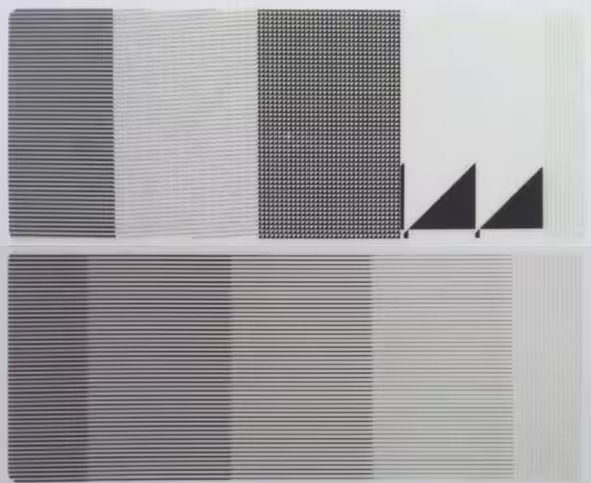
The results of the test print will show lines and gray shades if the print head is working correctly (the quality is as expected), the print roller is functioning (the label fed through), the print sensors are free of dust and undamaged (the label endpoint is correct).
![]()