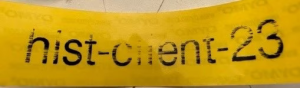
How to solve poor print quality on my LetraTag?
In this guide, we will provide you with troubleshooting steps to address poor print quality problems when using the LetraTag label maker. If you are experiencing subpar print quality, it could be due to a lack of maintenance or insufficient battery power. By following the instructions below, you can tackle these issues effectively.
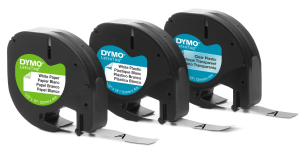
Tape Compatibility
Please ensure that you are using DYMO Authentic tapes, as they are specifically designed to work seamlessly with our devices. Our tapes have undergone thorough testing to deliver the best printing output.
Clean the print head and the print roller
To ensure optimal performance and print quality of your LetraTag label maker, it is important to keep the device clean and free from any dust, glue residue, or tape obstructions. The steps on how to maintain your label maker can be found HERE.
Power cycle your printer and replace the batteries
- Remove the batteries.
- Press the power button 20 times to discharge the printer.
- Replace the current batteries with fresh non-rechargeable batteries from a reputable brand.
Change the strobe setting (LetraTag 200B not applicable)
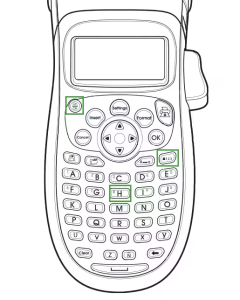
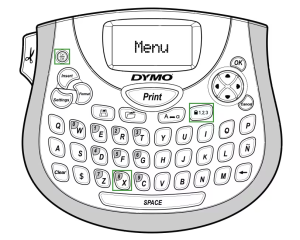
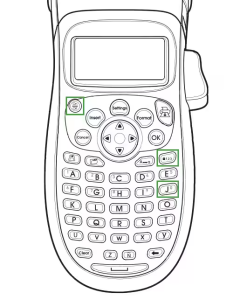
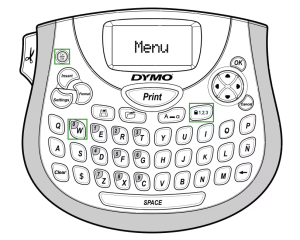
2. Press the following key combination simultaneously (see diagrams below):
Numlock + Number 8 + On/Off button.
Reset the printer (LetraTag 200B not applicable)
2. Press the following key combination simultaneously (see diagrams below):
Numlock + Number 0 + On/Off button
4. After resetting your LetraTag and turning it on for the first time, you will be prompted to choose your preferred language.
Advance some of the tape and try a different cartridge
- Open the cartridge door to access the tape compartment.
- Remove the tape cassette.
- Pull 1 inch (2,5 cm) of tape out of the cassette.
- Insert the cassette again without cutting the advanced tape.
- If there is no improvement, please try using a different tape cartridge.
![]()